


.png)
In this tutorial, I’ll walk you through step by step how you can create your Copilot with the Llama3 model within VSCode connected through the NVIDIA AI API
Follow the steps below to create your account on NVIDIA and obtain the API Key, which you will then need to add in CodeGPT within VSCode to connect to the Llama 3 model.
Link: https://www.nvidia.com/en-us/ai/
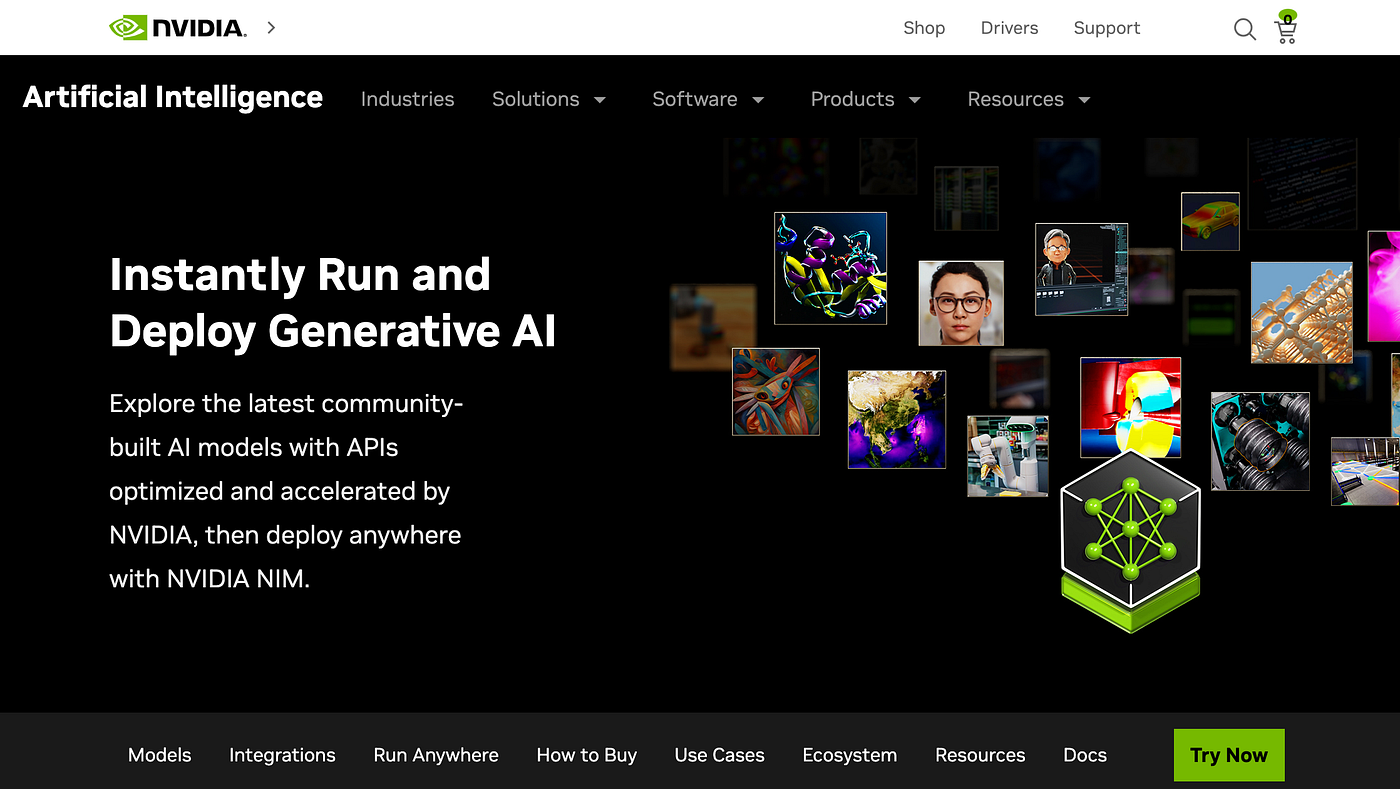
To create an account, click on ‘Try Now’, which will redirect you to this platform: https://build.nvidia.com/explore/discover.
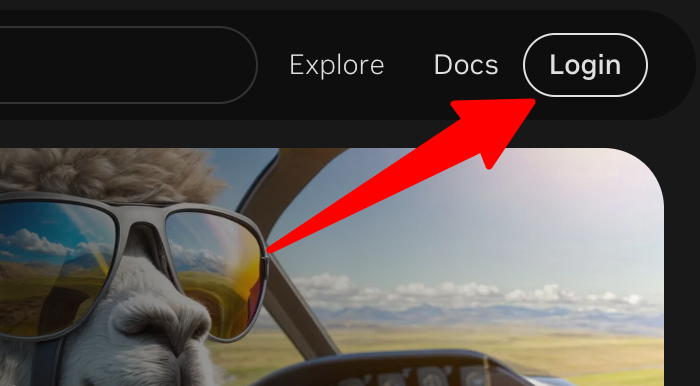
Then, click on ‘Login’.
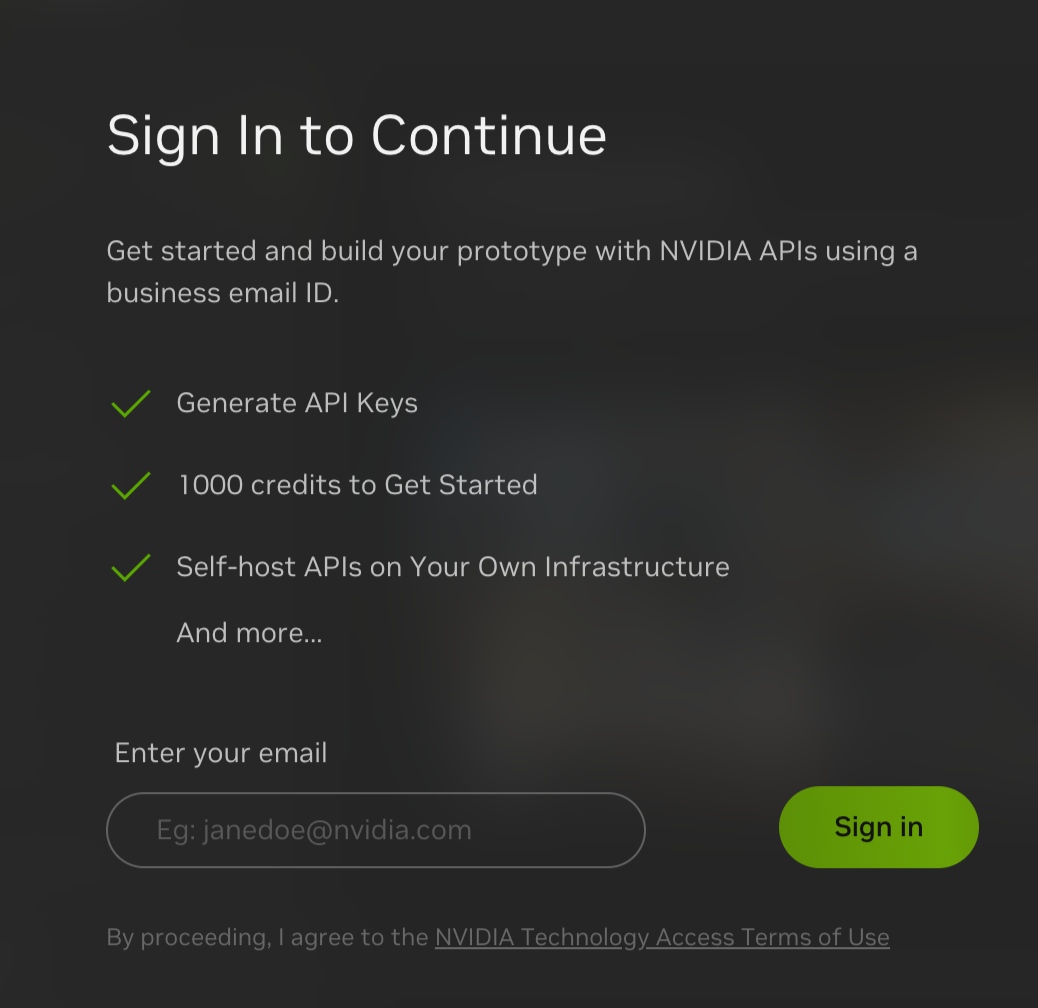
Enter your email, and you will be redirected to the page to create an account.
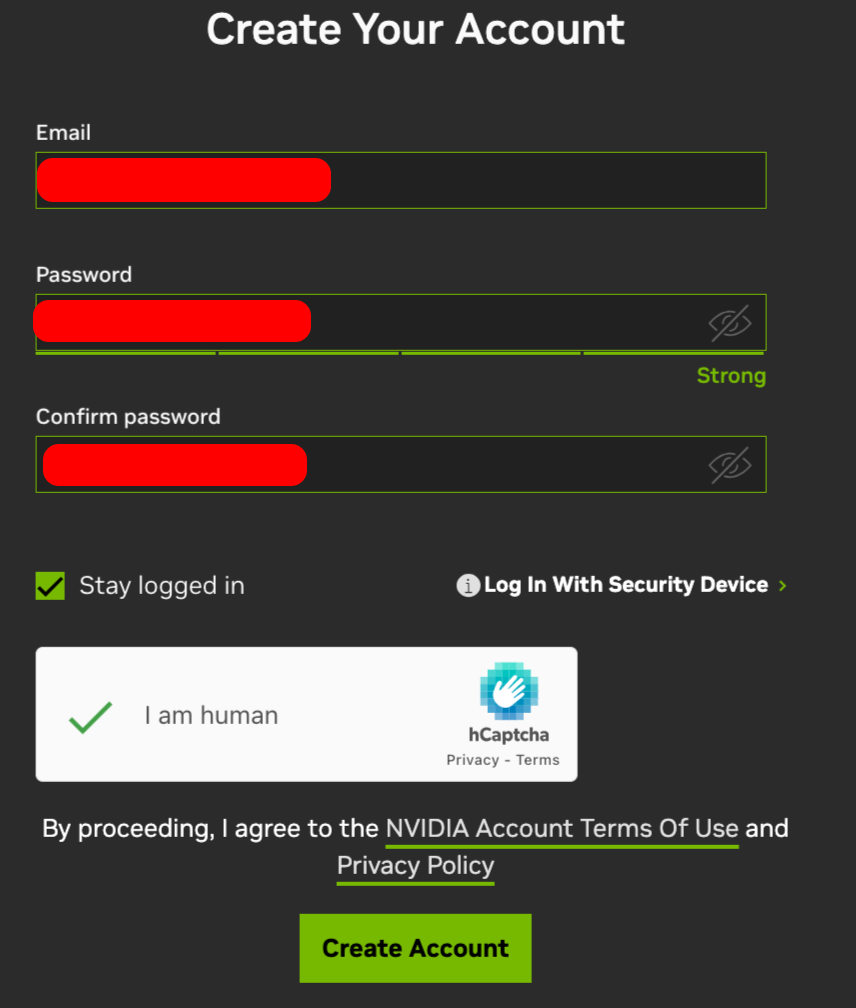
Fill in the information and click on ‘Create Account’.
Check your email inbox for the NVIDIA verification email.
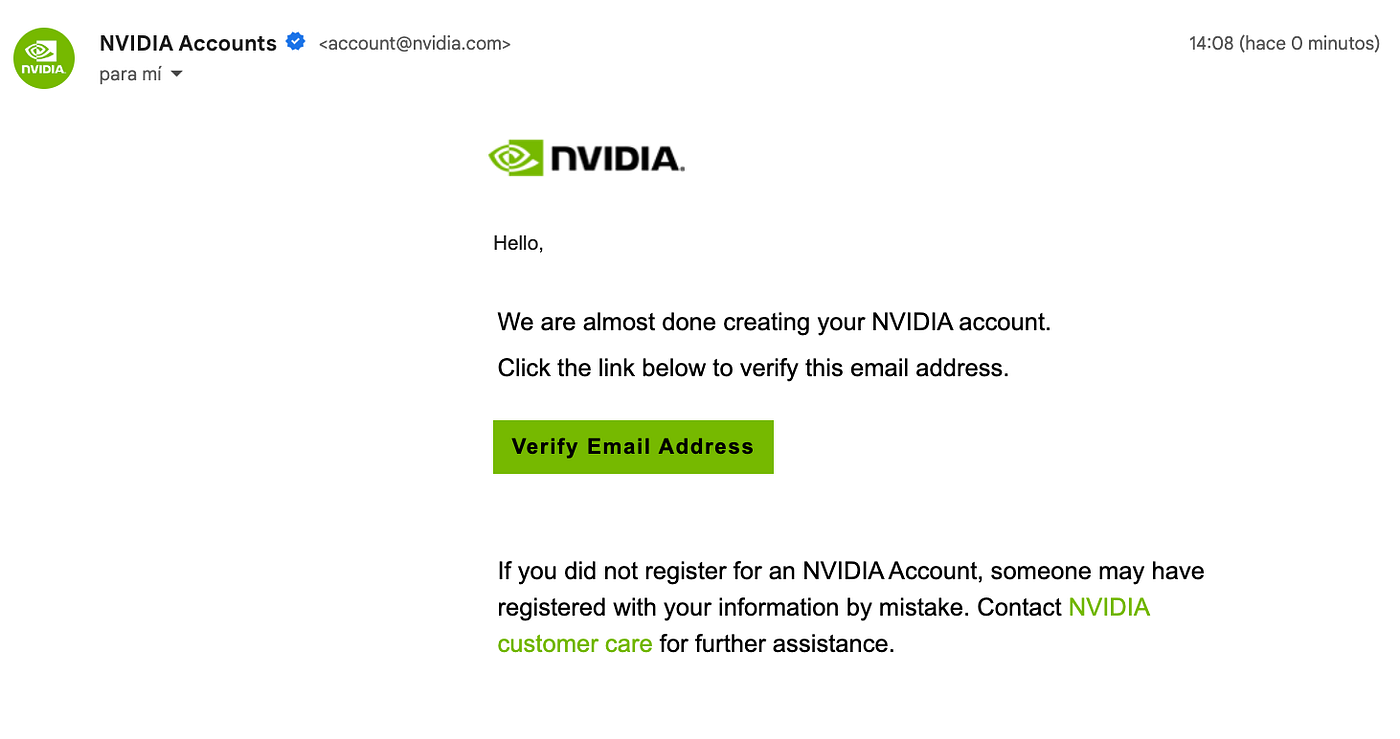
Click on ‘Verify Email Address’, and you will be redirected to the platform with your session already initiated! That’s it, your account is created.
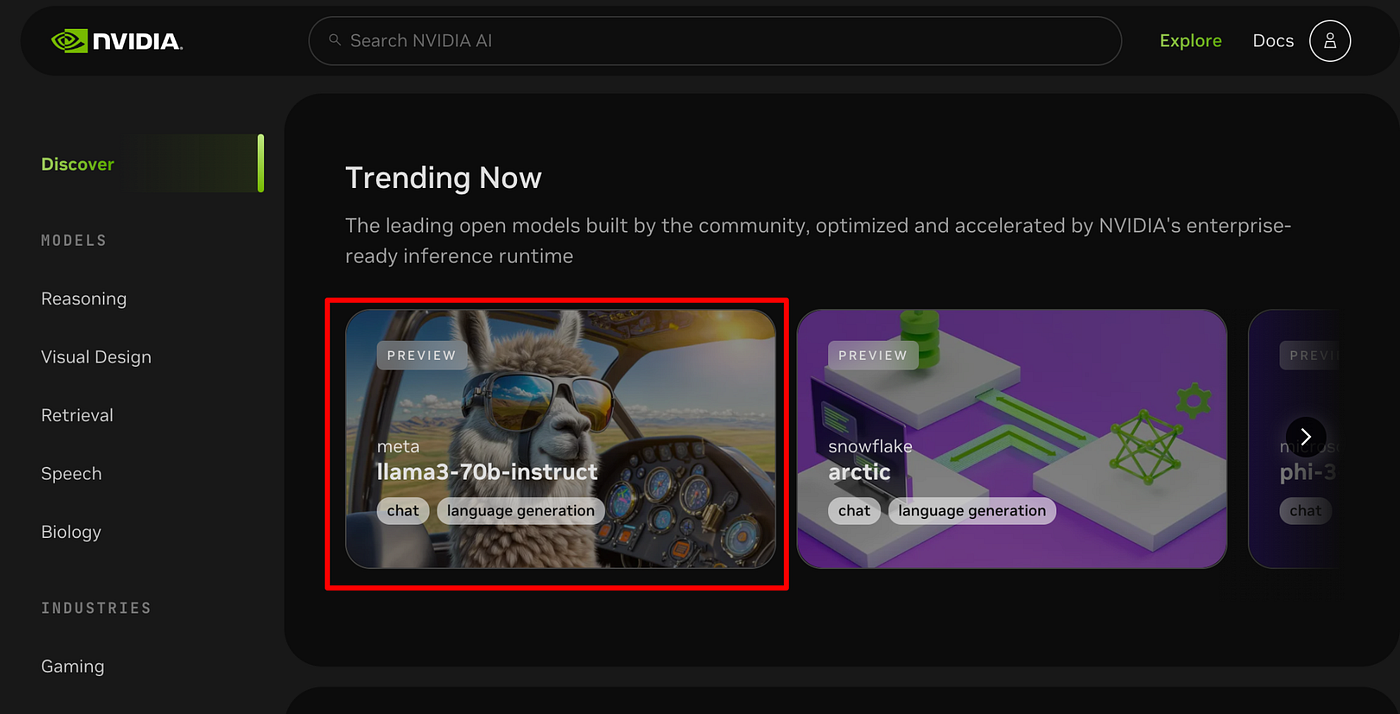
Get the API Key
Once inside the platform, click on the Llama3–70b-instruct model.
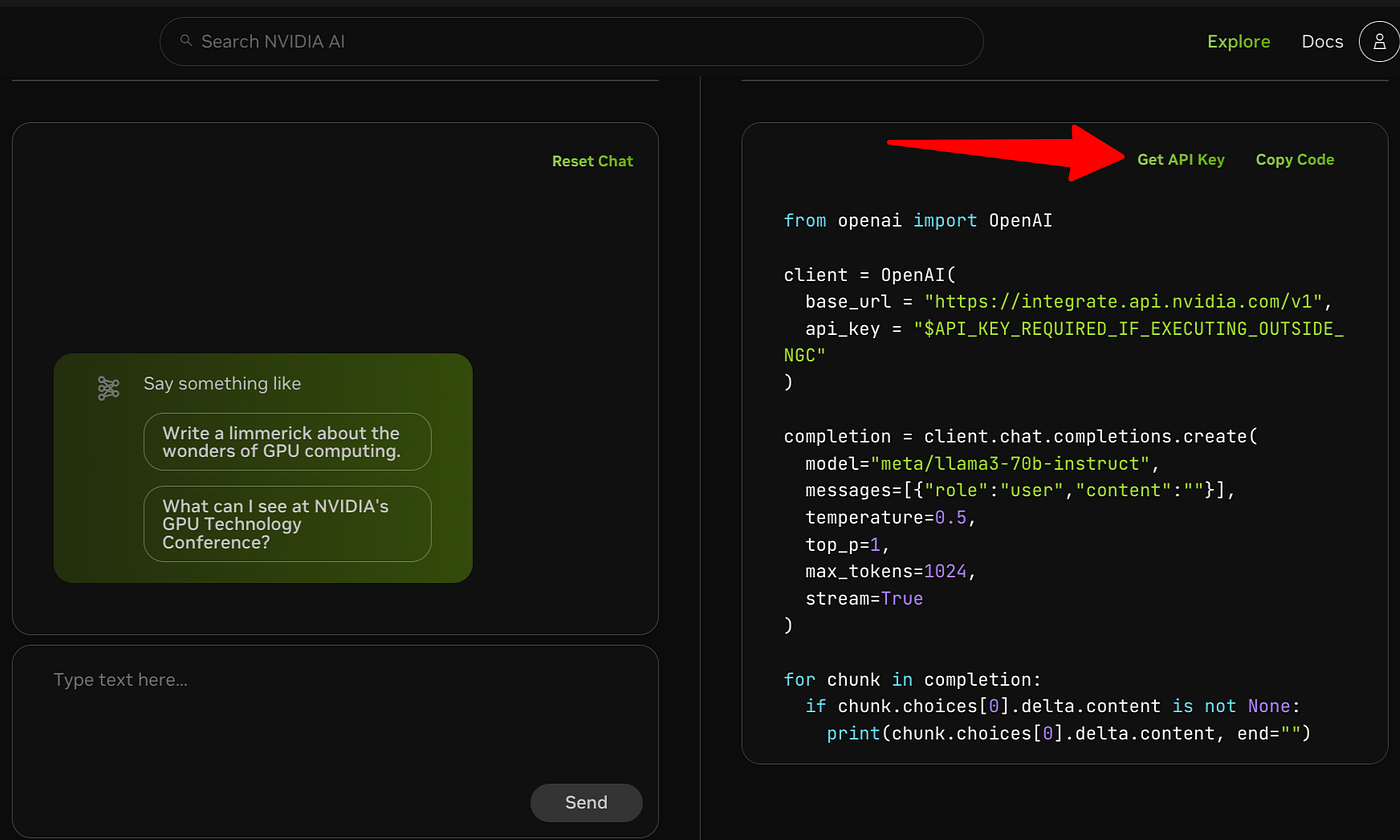
Click on ‘Get API Key’
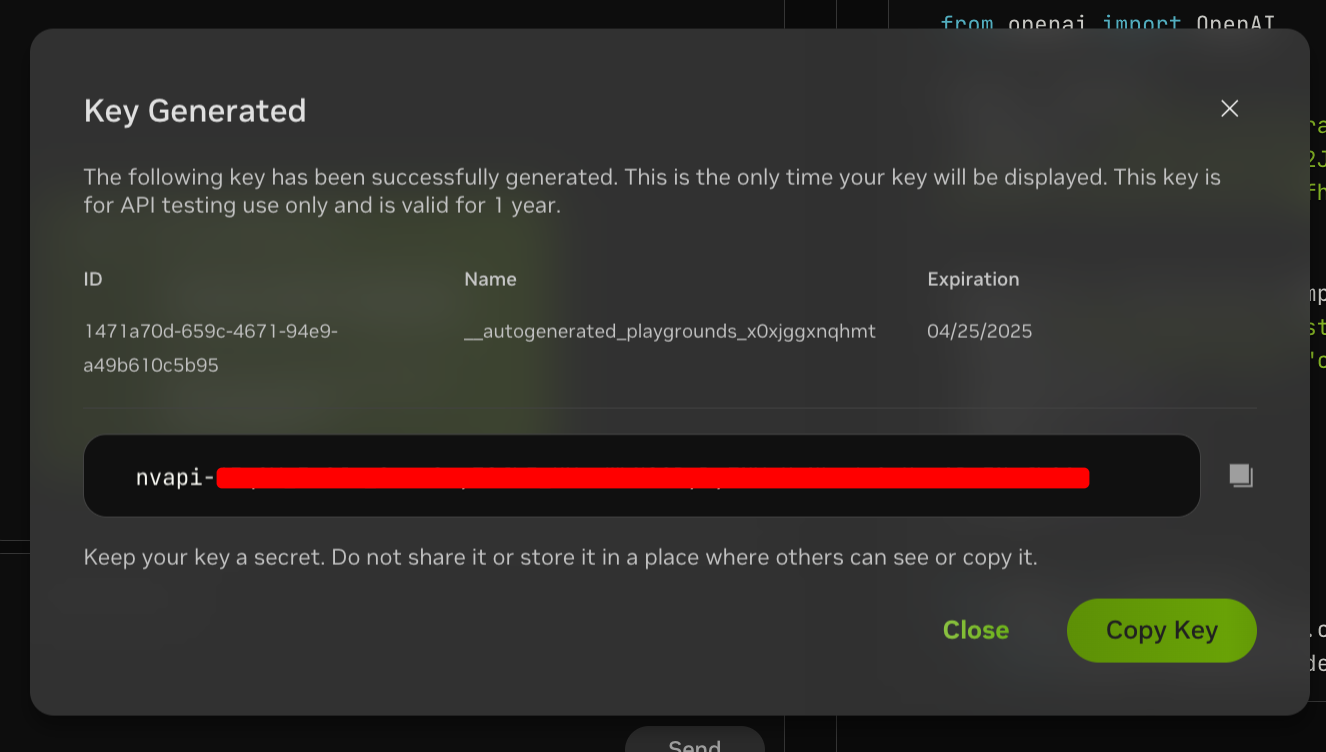
Click on ‘Copy Key’
Connect your API Key in VSCode using CodeGPT
Now open VSCode, you must have CodeGPT already installed to connect your NVIDIA account.
You can install it from the following link:
CodeGPT: Chat & AI Agents - Visual Studio Marketplace
or through the VSCode extension marketplace.
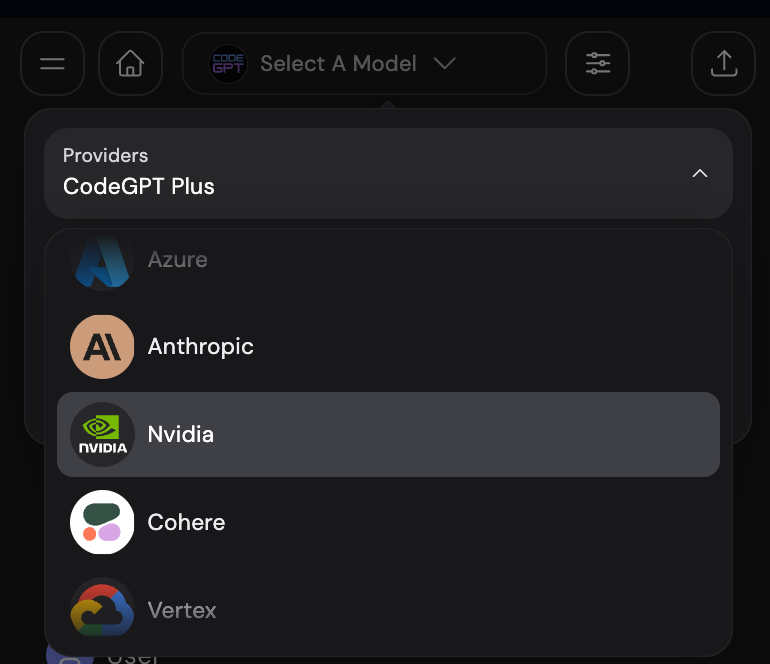
Within the CodeGPT tab, select NVIDIA as the provider.
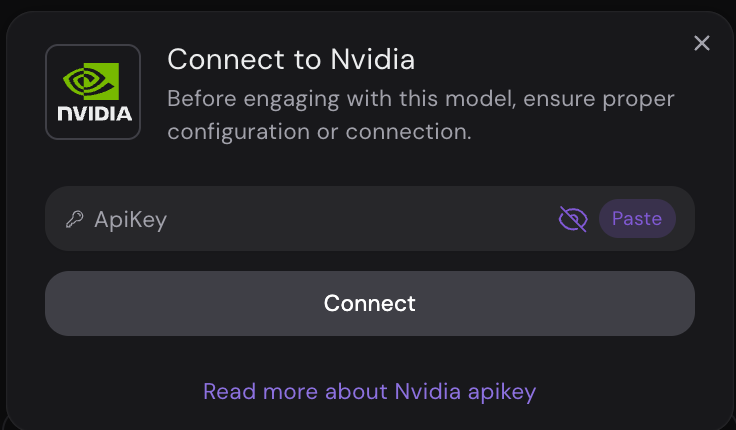
Select ‘Edit Connections’ and paste your API Key, then click on ‘Connect’
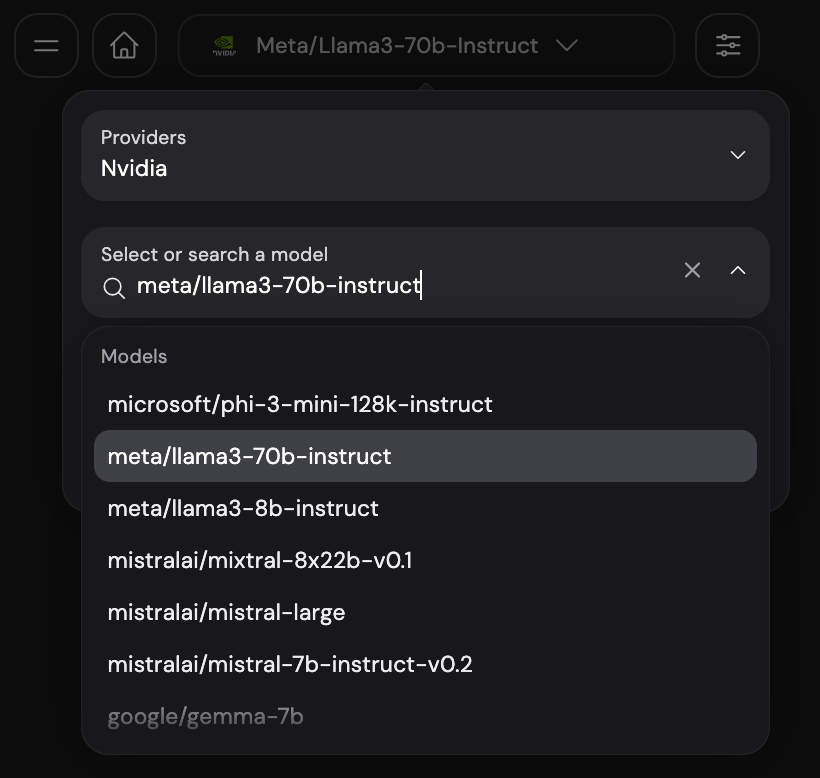
With your account connected, now you just need to select the model ‘meta/llama3–70b-instruct’, or we also recommend trying the model ‘microsoft/phi-3-mini-128k-instruct’ which is already available.
Excellent! Now you have all the power of the models through the NVIDIA AI API!
Follow me on Twitter for more tutorials like this! https://twitter.com/dani_avila7

-1.png?width=352&name=Maqueta%20(2)-1.png)

Leave a Comment